Step-by-Step Guide to Programming Your Chamberlain Garage Door Opener
A Chamberlain garage door opener can usually be programmed in a few minutes, whether you are adding a new hand-held remote, pairing a wireless keypad or replacing an old access code. The exact button names and sequence can vary between models, so identifying the opener first is worth the small amount of effort.
Australian homes commonly use sectional garage doors, tilt doors and roller doors, with automatic openers installed in everything from suburban Brisbane garages to compact Sydney townhouses. A compatible remote and a stable power supply are essential for reliable operation.
Before beginning, clear the doorway and keep children, pets and vehicles away from the moving door. If the opener has been fitted to a shared driveway or strata garage, check whether the remote system is managed by a body corporate or building manager.
Check Compatibility Before Programming
Start by finding the opener’s model number. It may be printed on the motor housing, beneath the light cover, on the side of the rail or inside the battery compartment of the remote. Chamberlain products sold in Australia can differ from North American models, and some local units are closely related to Merlin-branded systems.
Check that the remote uses the same coding technology as the opener. Older Chamberlain openers may use fixed code or Security+ systems, while newer units often use rolling-code technology. A remote that looks similar may still be incompatible. The colour of the Learn button is useful, but it should be treated as a guide rather than the only identification method.
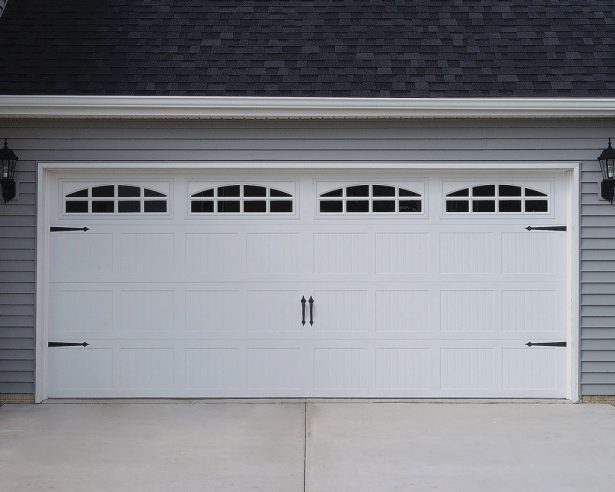
If you are planning a broader upgrade, compare the opener with the door’s size, weight and lifting arrangement. Design choices such as windows, panel profiles and finishes can affect the overall appearance of the garage, so browsing garage door designs can help you consider the opener and door as a complete system rather than separate purchases.
Prepare These Items First
- The Chamberlain opener with power connected
- The compatible hand-held remote or wireless keypad
- A small ladder if the Learn button is above reach
- The model manual or programming instructions
- A fresh remote or keypad battery if needed
Disconnecting power is not normally required for routine remote programming. Avoid touching the door springs, cables or lifting hardware, as these components are under substantial tension and should be handled by a qualified garage door technician.
Locate The Learn Button
The Learn button controls the opener’s memory. On many Chamberlain motors it is located near the antenna wire, adjustment controls or terminal block. It may sit behind the light lens or beneath a small cover. The button can be yellow, purple, red, orange or another colour depending on the product generation.
Use the ladder carefully and position it beside the motor rather than directly beneath the door. Pressing the Learn button briefly normally activates programming mode, while holding it for too long may erase stored remotes. If the opener has separate buttons marked Learn, Code or SRT, follow the instructions for the exact model.
Watch the indicator light after pressing the button. A steady light, flashing light or illuminated LED usually means the unit is ready to accept a signal. Programming mode commonly lasts about 30 seconds, so have the remote in your hand before starting.
What The Indicators Usually Mean
- A steady indicator often signals active programming mode
- A flashing motor light may confirm that a remote was accepted
- A rapid flash can indicate an incorrect or delayed sequence
- No light may point to a flat battery, locked control panel or power issue
If the Learn button does not respond, check the wall control. Some openers have a lock or vacation function that prevents remote operation. The motor may also have no power even though the garage lights or household circuits appear normal.
Add A Hand-Held Remote
Stand within a few metres of the opener and remove the remote’s battery cover if you need to confirm its model. Press and release the Learn button on the motor. Do not keep holding it unless the manual specifically instructs you to do so.
Within the programming window, press and hold the remote button you want to use. Depending on the Chamberlain model, holding the button for one to three seconds may be enough. Release it when the opener light flashes, the motor clicks or the indicator changes state. Press the same remote button again to test the connection.
For a second or third remote, repeat the process rather than trying to copy the signal from one remote to another. Many openers store several remotes, but the memory limit varies. If the opener has reached capacity, adding a new device may require clearing all stored codes and programming every authorised remote again.
A Reliable Remote Programming Sequence
- Place the remote within range of the opener
- Press and release the motor’s Learn button
- Press and hold the selected remote button
- Wait for the light or LED confirmation
- Press the remote button once more to test the door
If the door opens but will not close, the remote is probably programmed correctly and the issue may involve the safety sensors. Check that both sensors face each other, their lenses are clean and their indicator lights are steady. Never bypass the photoelectric safety system.
Set Up A Wireless Keypad
A wireless keyless-entry keypad is useful for families, guests, tradespeople and anyone who does not want to carry a remote. Start by installing the recommended battery and choosing a personal PIN. Avoid obvious combinations such as a street number, birth year or repeated digits.
The general Chamberlain process is to activate Learn mode on the opener, enter the PIN on the keypad and press the keypad’s ENTER, SEND or similar confirmation button. Some units require the PIN and a separate door-control key to be pressed together. Others use a program button on the keypad before the code is entered.
Because keypad sequences differ more than standard remote programming, follow the instructions printed inside the battery cover or in the model manual. A keypad designed for a US Chamberlain frequency may not pair with an Australian opener, even when the casing and buttons look identical.
Keypad Setup Details To Record
- The keypad model and opener model
- The date the PIN was created
- Which household members have access
- Whether a temporary code has been issued
- The location of the manual release cord
After programming, close the garage door and enter the PIN from outside. Confirm that the door opens smoothly and that the keypad does not need repeated presses. In a rental property, remove former occupants’ codes and tell the owner or property manager when access details change.
Test The Door And Solve Common Faults
Test every programmed device with the door fully closed, then test it again while standing clear of the travel path. The opener should start without hesitation, stop at the normal limits and reverse when an obstruction is detected. Test the wall control as well as each remote and the keypad.
Australian conditions can expose faults that are easy to miss during installation. Coastal air around Perth, Adelaide or the Gold Coast can contribute to corrosion, while dust, heat and insects may affect sensors and keypad contacts. In Melbourne or Canberra, a cold morning may make a stiff door feel heavier and cause the motor’s overload protection to activate.
A programming fault is different from a mechanical fault. If the remote LED lights but the opener does not respond, inspect compatibility and the Learn-button sequence. If the opener responds but the door strains, shudders or reverses, stop using it until the tracks, springs and balance have been checked.
Troubleshooting Checks
- Replace weak remote or keypad batteries
- Confirm the opener has mains power
- Clean and align both safety sensors
- Disable the wall-panel lock function
- Reprogram the device after checking compatibility
If all remotes stop working at once, the memory may have been erased or the receiver may have failed. A power surge, water ingress or damaged circuit board can also prevent programming. In a strata complex, avoid resetting a shared opener without permission because it may remove access for neighbours.
A local garage door professional can inspect the motor, door balance, cables and safety reversal system. This is especially important when the opener is noisy, the door is uneven, or the springs show rust or damage. Programming a remote is a straightforward homeowner task, but lifting-system repairs require proper equipment and experience.
Once the new remote or keypad works, keep the model details and programming instructions in a safe place. Mark authorised remotes, remove lost devices from the opener’s memory and change the keypad PIN whenever household access changes. Carry out a brief safety test every few months so a small fault does not become a larger repair.
Use these steps to programme the compatible Chamberlain device carefully, test the full door system and keep access codes under control. If the opener still refuses to learn a remote or the door behaves unsafely, arrange an inspection with a qualified Australian garage door technician before continuing to use it.